Embarking on a home improvement project can be both rewarding and a little daunting, especially when it involves plumbing․ If you’ve been contemplating a fresh look for your kitchen or dealing with a leaky old fixture, knowing how to change kitchen tap is an invaluable skill․ This comprehensive guide is designed to empower you with the knowledge and confidence to tackle this task yourself, saving you money and giving you a sense of accomplishment․ We’ll walk you through every step, from gathering your tools to turning on your sparkling new faucet, ensuring you understand the process of how to change kitchen tap safely and efficiently․
Gathering Your Tools for a Seamless Kitchen Tap Replacement
Before you dive headfirst into disconnecting pipes, it’s crucial to have all the necessary equipment at hand․ A well-prepared workspace not only makes the job easier but also prevents unnecessary trips to the hardware store mid-project․ Taking the time to collect your tools now will ensure a smooth and frustration-free experience․
Essential Equipment List for Your Faucet Swap - Adjustable wrench or basin wrench (the latter is often more convenient for tight spaces)
- Phillips and flathead screwdrivers
- Utility knife or small saw (for cutting old caulk if necessary)
- Bucket and sponges/rags (to catch drips)
- Headlamp or flashlight (for better visibility under the sink)
- Plumber’s putty or silicone sealant (check your new tap’s instructions)
- Thread seal tape (PTFE tape)
- Safety glasses
- New kitchen tap and associated mounting hardware
Preparation is Key to a Smooth Kitchen Tap Swap
Proper preparation is half the battle when undertaking any plumbing task․ This stage ensures your safety, protects your kitchen from potential water damage, and sets the foundation for a successful installation․
Safety First: Shutting Off Water Supply
The very first and most critical step is to turn off the water supply to your kitchen tap․ Locate the shut-off valves typically found under the sink, connected to the hot and cold water lines․ Turn them clockwise until they are completely closed․ If you cannot find individual shut-off valves, you may need to turn off the main water supply to your entire house․
Once the water is off, open the existing kitchen tap to drain any residual water from the lines and relieve pressure․ Keep a bucket underneath to catch any drips․
Clearing the Workspace Under Your Sink
Remove everything from under your kitchen sink․ This will give you ample room to work and prevent items from getting wet or damaged․ Lay down old towels or a tarp to protect the cabinet base from any spills․
Step-by-Step Guide: How to Remove Your Old Kitchen Tap
With the water supply secured and your workspace clear, it’s time to bid farewell to your old tap․ This process requires a bit of maneuvering in confined spaces, but with the right tools and patience, it’s straightforward․
- Disconnect Water Supply Lines: Using your adjustable or basin wrench, carefully loosen the nuts connecting the hot and cold water supply lines to the underside of the old tap․ Be prepared for a small amount of residual water to drain out․
- Remove Mounting Hardware: Locate the large mounting nut (or nuts) and any washers or plates that secure the tap to the sink or countertop․ Use your basin wrench for this, as it’s designed for these tight spots․
- Cut Away Caulk (If Present): If the base of your old tap is sealed with caulk or silicone, use a utility knife to carefully cut around the perimeter․ This will help break the seal and make removal easier․
- Lift Out the Old Tap: Once all connections and mounting hardware are removed, you should be able to lift the old tap straight up and out from the top of the sink or countertop․ Clean any accumulated grime or old sealant from the tap hole․
Installing Your New Kitchen Faucet
Now for the exciting part – bringing your new tap to life! This is where you’ll see your kitchen transformation begin to take shape․ While the specific steps might vary slightly depending on your tap model, the general process remains consistent for how to change kitchen tap effectively․
- Prepare the New Tap: If your new tap requires plumber’s putty or a gasket, apply it now․ Roll a thin rope of plumber’s putty and place it around the base of the tap where it will meet the sink․ Alternatively, if your tap comes with a rubber gasket, place it on the tap’s base․
- Position the New Tap: Carefully insert the new tap’s supply lines and mounting post(s) through the hole(s) in your sink or countertop from above․ Ensure the tap is correctly oriented․
- Secure Mounting Hardware: From underneath the sink, slide on any rubber washers, metal washers, and then thread on the mounting nut(s)․ Hand-tighten first, then use your basin wrench or adjustable wrench to tighten securely, but don’t overtighten, as this can damage the tap or sink․
- Connect Supply Lines: Wrap the threads of the new tap’s supply line connections with thread seal tape (PTFE tape) 2-3 times clockwise․ Then, connect the new supply lines (hot to hot, cold to cold) to the tap and to the shut-off valves․ Tighten these connections with your wrench․
- Connect Sprayer/Hose (If Applicable): If your tap has a pull-out sprayer or separate side sprayer, connect its hose to the designated port on the tap body, ensuring a secure connection․
Testing and Finishing Touches
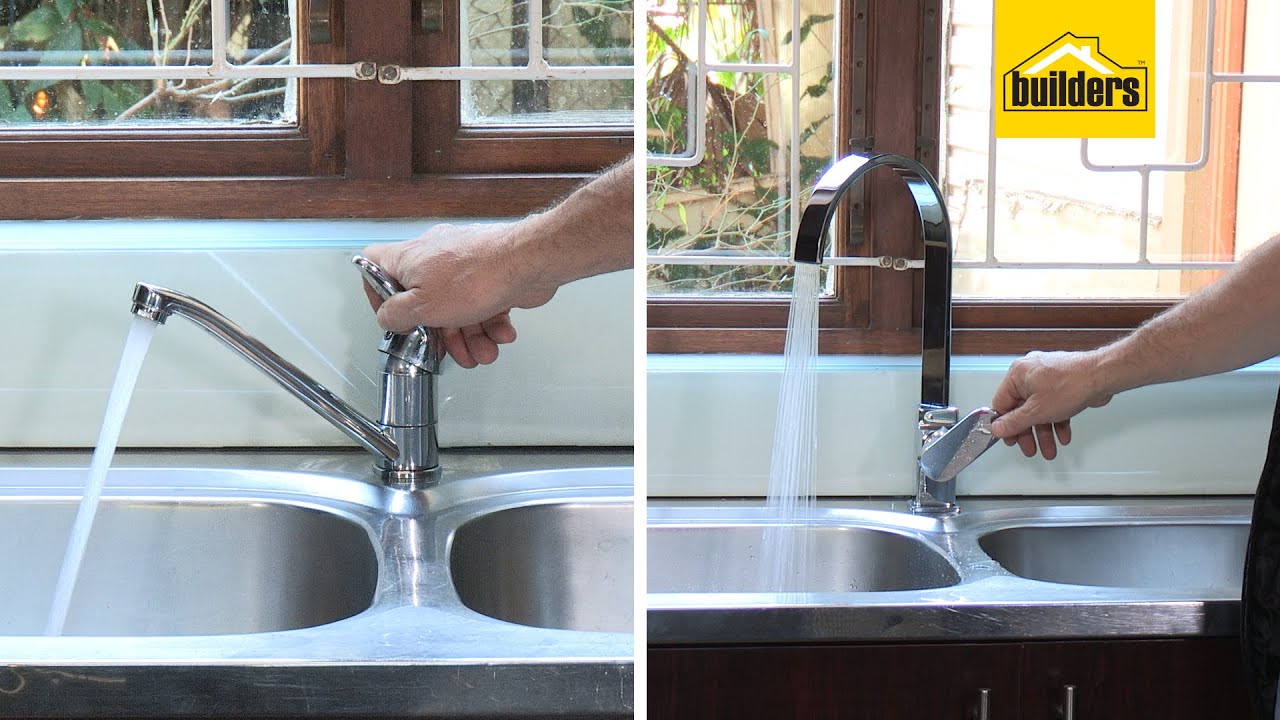
With your new tap installed, it’s time for the moment of truth․ Slowly turn on the hot and cold water supply valves under the sink․ Check all connections carefully for any leaks․ Turn on your new kitchen tap and let the water run for a few minutes to flush out any air or debris in the lines․ Check the flow and temperature, and finally, admire your handiwork!
Frequently Asked Questions About Changing Kitchen Taps
Even with a detailed guide, some common questions often arise during a tap replacement․ Here are answers to some of the most frequent concerns․
What tools are absolutely essential for changing a kitchen tap?
An adjustable wrench or basin wrench, screwdrivers, a bucket, rags, and a flashlight are the absolute minimum․ A basin wrench is particularly useful due to the tight spaces under the sink․
Do I need plumber’s putty or a gasket for my new tap?
Most modern taps come with a rubber gasket that seals the base․ If yours doesn’t, or if you prefer extra security, plumber’s putty can be used․ Always check your new tap’s instructions, as some manufacturers recommend one over the other or neither․
What if I encounter a leak after installation?
Immediately turn off the water supply․ Leaks usually occur at connection points․ Check if the supply lines are tightened sufficiently (but not overtightened) and if thread seal tape was applied correctly․ Also, ensure the mounting nuts securing the tap to the sink are tight․ Sometimes, simply re-tightening a connection can resolve the issue․
How long does it typically take to change a kitchen tap?
For a DIY enthusiast with some basic experience, it can take anywhere from 1 to 3 hours, depending on the complexity of the old tap’s removal and the new tap’s installation․ First-timers might take a bit longer․
When should I consider calling a professional plumber?
If you encounter rusted or seized nuts that won’t budge, if you’re unsure about shutting off the main water supply, or if you’ve tried troubleshooting a leak without success, it’s always best to call a professional plumber․ They have specialized tools and expertise to handle complex situations․
Knowing how to change kitchen tap successfully means not just following steps, but also approaching the task with patience and a readiness to learn․ With this guide, you now possess the essential knowledge to confidently upgrade your kitchen’s focal point․ Enjoy your new, functional, and stylish kitchen tap!